New Gallery
Creating a new gallery in PhotoBerry Studio is straightforward. Follow these steps to set up a new gallery:
Steps to Create a New Gallery
-
Access the Gallery Section
- In your WordPress dashboard, find the
PhotoBerry Studiomenu located in the sidebar. - Click on
Galleriesunder thePhotoBerry Studiomenu.
- In your WordPress dashboard, find the
-
Add a New Gallery
- Click the
Add Newbutton at the top of the page. - Enter a title for your gallery in the title field.
- Click the
-
Configure Gallery Settings
- You will see various settings options for your gallery. Adjust these settings according to your preferences:
- Gallery Layout: Choose the layout for displaying your images.
- Access Control: Set the access level for your gallery (Public, Private with URL Key, Private with Password, Private, Require Client Login).
- You will see various settings options for your gallery. Adjust these settings according to your preferences:
-
Save the Gallery
- Once you have configured the settings, click the
Publishbutton to create the gallery.
- Once you have configured the settings, click the
-
Upload Images
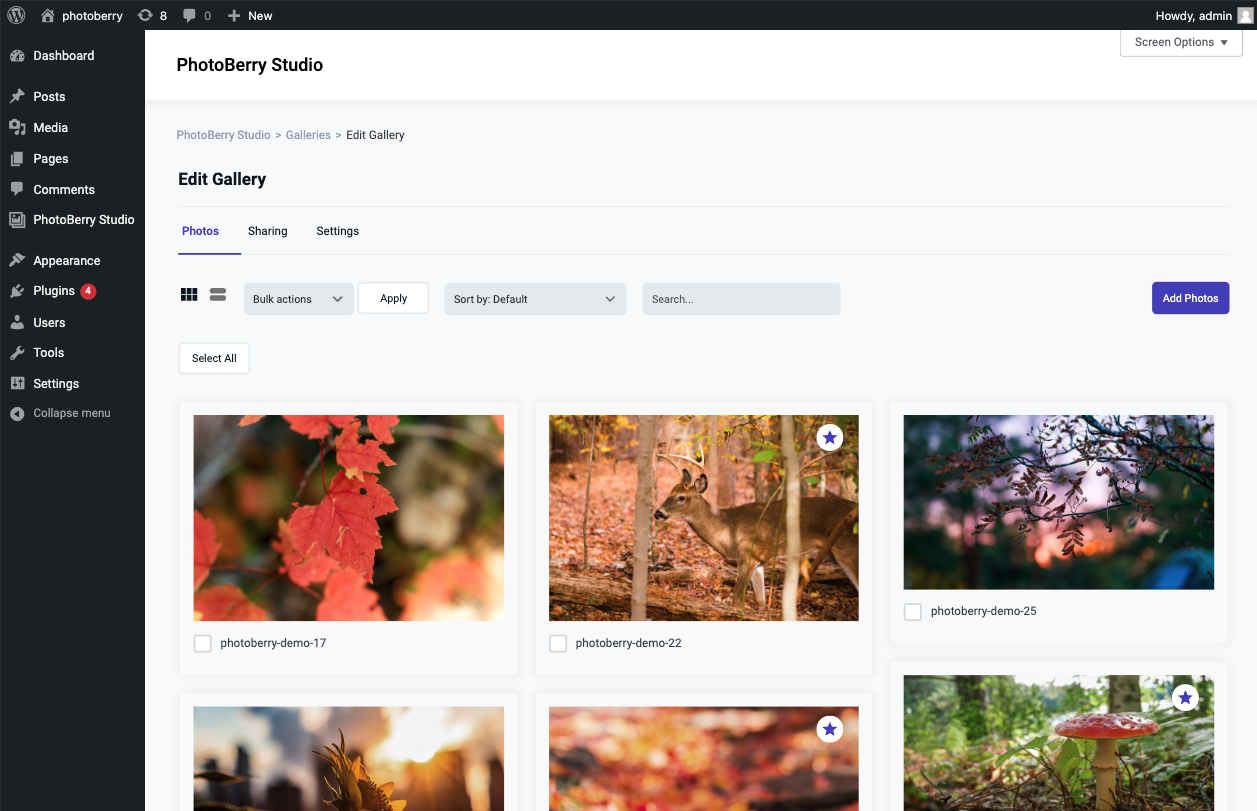
- After the gallery is created, you can upload images directly to the gallery. Navigate to the gallery and click on the
Add photosbutton to upload your images.
- After the gallery is created, you can upload images directly to the gallery. Navigate to the gallery and click on the
