Configuration
Initial Setup
After installing and activating PhotoBerry Studio, the Welcome Screen will appear automatically. This screen guides you through the essential setup steps to ensure your plugin is properly configured.
Accessing the Welcome Screen
- The welcome screen can be accessed at any time from: WordPress Dashboard → PhotoBerry Studio → Welcome
- You can also open it directly by visiting:
/wp-admin/edit.php?post_type=photoberry-gallery&page=photoberry-welcome
Welcome Screen Overview
The welcome screen consists of the following steps:
- Welcome to PhotoBerry Studio
- An introduction to the plugin and its core features.
- A quick overview of how PhotoBerry Studio helps photographers manage galleries and client sessions.
- A video walkthrough to help new users understand its capabilities.
- Plugin Setup
- Enter your Studio Name (used for branding).
- Provide a Studio Email (used for email notifications).
- Save these settings to personalize your PhotoBerry Studio experience.
- Website Status Check
- A built-in system check to ensure your WordPress site meets the required server and hosting settings.
- Verifies:
- WordPress and PHP version compatibility.
- PHP memory and upload limits.
- Required PHP extensions, including the GD extension for image processing.
- File upload permissions and directory availability.
- Subscribe to Updates (Optional)
- You can subscribe to receive plugin updates, news, and best practices via email.
- Complete Setup
- Confirms that all necessary configuration has been completed.
- Provides useful links to the Documentation, Support Forum, and Feature Request Page.
Configuring PhotoBerry Studio Settings
After completing the initial setup, follow these steps to configure PhotoBerry Studio:
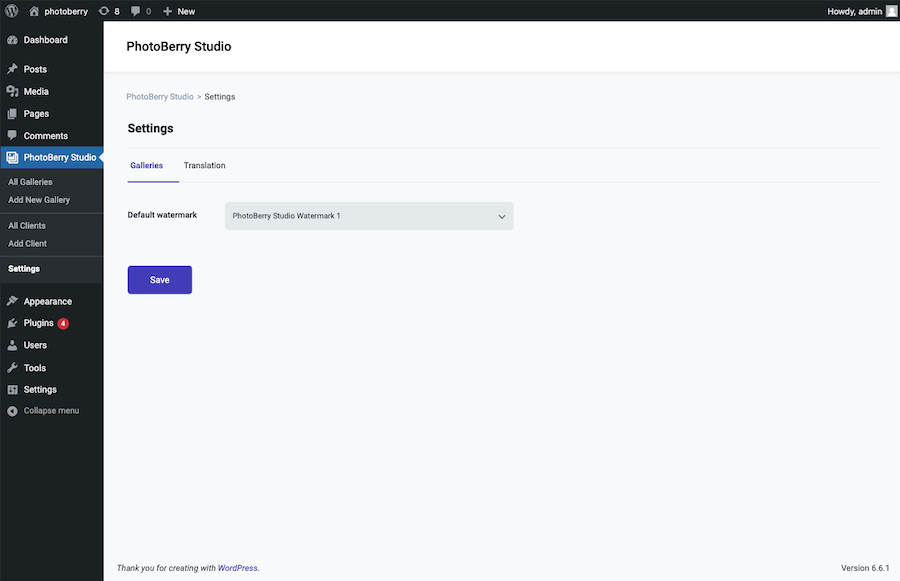
1. Access the Settings
- In your WordPress dashboard, find the
PhotoBerry Studiomenu located in the sidebar. - Click on
Settingsunder thePhotoBerry Studiomenu.
2. Configure Gallery & Session Settings
- You will see several settings available for customization. Adjust these settings based on your preferences:
- Default Watermarking
Enable or disable watermarking to protect your images from unauthorized use.- Watermarks are applied when images are uploaded.
- This setting applies to new galleries and sessions by default but can be adjusted individually in their settings.
- Default Sharing Options
Choose the default access setting for new galleries and sessions:- Public – Anyone can view.
- Private (Require Client Login) – Clients must log in to access.
- Password-Protected – Requires a password for access.
- Private Sharing with URL Key - a unique URL with a ?pbk= parameter is generated
- Storage Settings
Configure where your images are stored:- Self-Hosted – Images are stored on your WordPress hosting.
- PhotoBerry Cloud (Coming Soon to the Pro Version) – Offloads images for better performance.
- Enable Invite Feature
Allows automatic client assignment when using Private, Require Client Login.- Generates an invite link that auto-assigns sessions or galleries upon client registration.
- Default Watermarking
3. Save Changes
- After configuring your preferred settings, click the Save button at the bottom of the page to apply the changes.

Next Steps
Now that you have configured the basic settings, you can:
- [Create a New Gallery](../2.galleries/new gallery.md)
- [Create a New Client Session](../3.sessions/new session.md)
- Learn How to Share Images Securely
If you need further assistance, visit our Support & Feedback section.