Layouts
PhotoBerry Studio offers several layout options to display your images in an appealing and organized manner. This section covers the different layout options available and how to configure them for your galleries.
Configuring Layouts
-
Access Gallery / Session Settings
- In your WordPress dashboard, find the
PhotoBerry Studiomenu located in the sidebar. - Click on
GalleriesorSessionsunder thePhotoBerry Studiomenu. - Select the gallery/session you want to configure.
- In your WordPress dashboard, find the
-
Select Layout
- In the settings, find the
Layoutsection. - Choose the desired layout option from the dropdown menu.
- In the settings, find the
-
Save Changes
- After configuring the layout settings, click the
Save Changesbutton to apply them.
- After configuring the layout settings, click the
By selecting and customizing the appropriate layout, you can enhance the visual appeal of your gallery / session.
Available Layouts
-
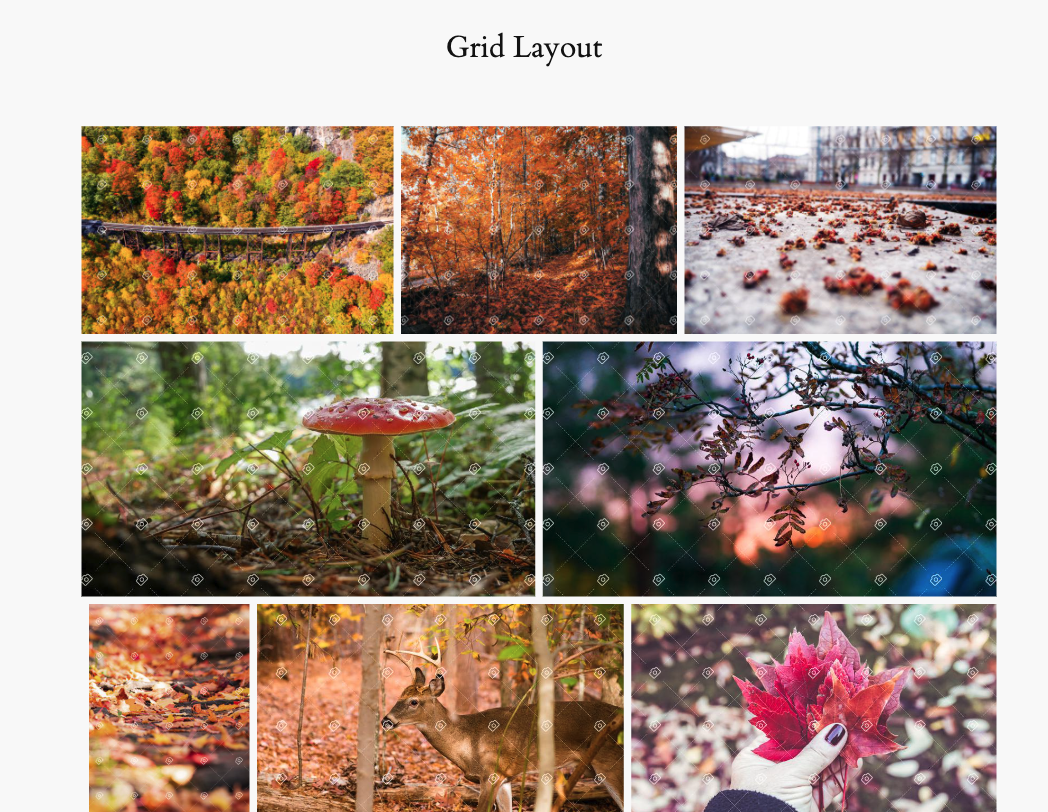
Grid Layout
- Displays images in a grid format with equal-height thumbnails.
- Suitable for showcasing multiple images uniformly.
-
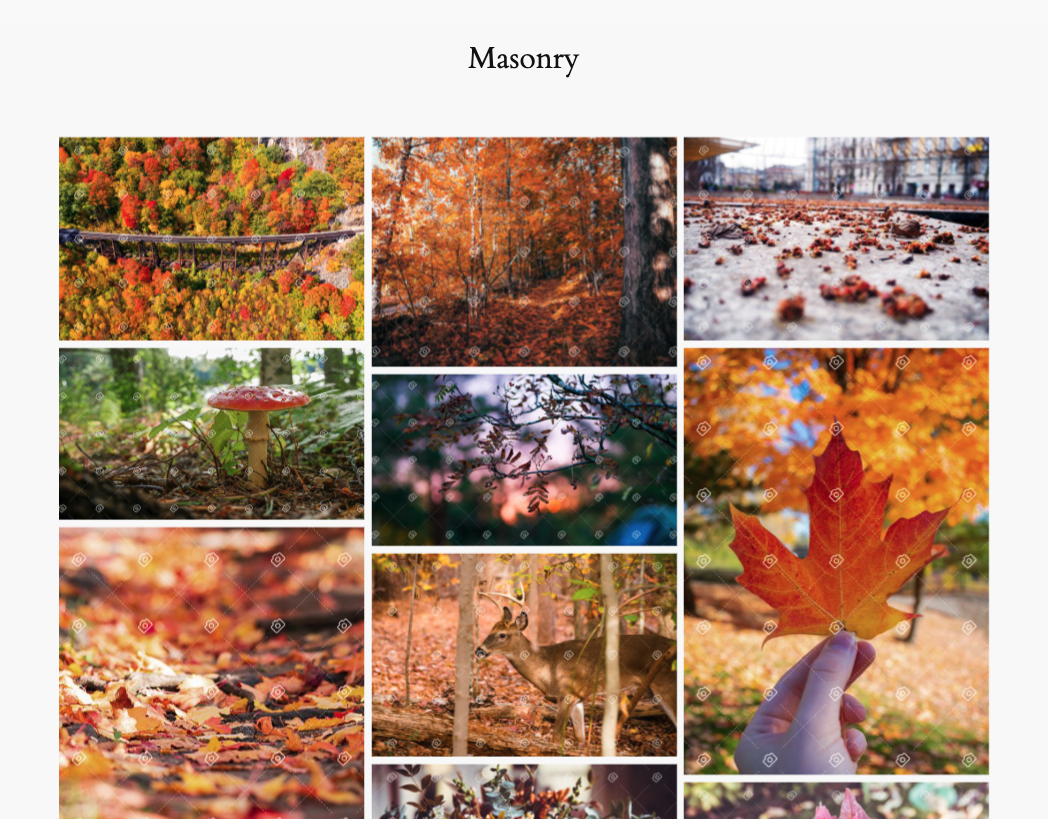
Masonry Layout
- Uses a masonry grid that adapts to the size of each image.
- Ideal for galleries with images of varying dimensions.
-
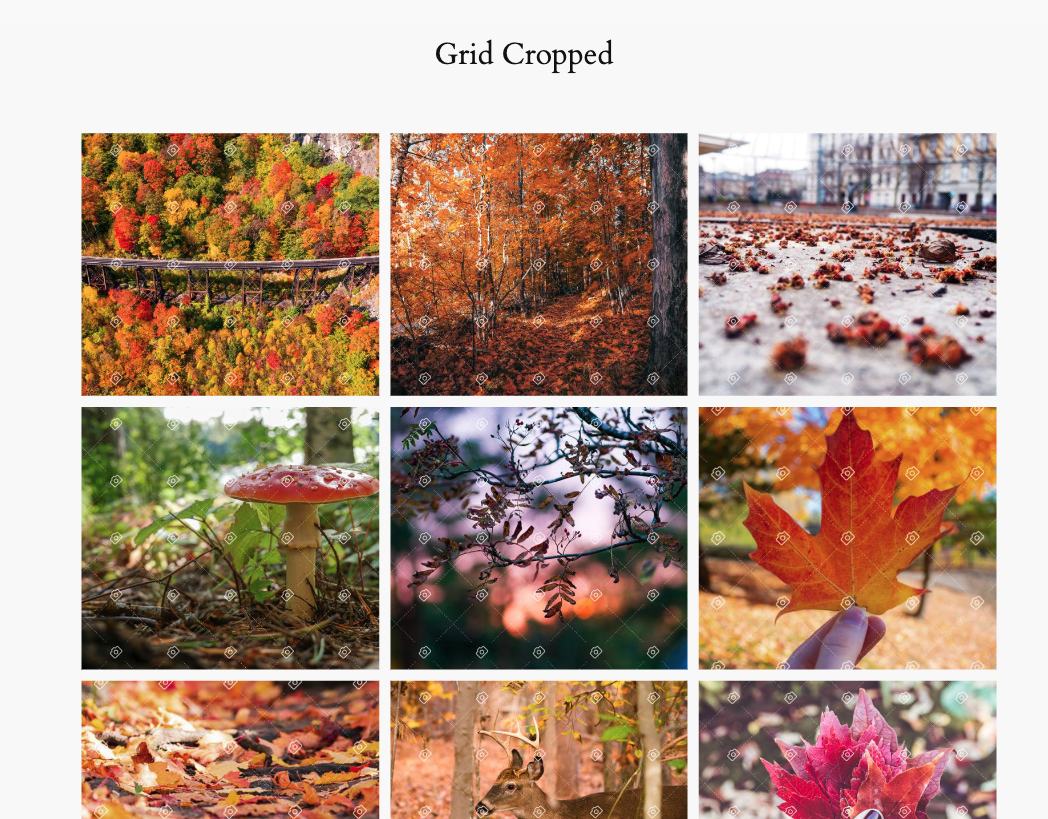
Grid Cropped
- Displays images in a grid format with thumbnails cropped to a uniform size.
- Ensures a consistent and neat appearance by cropping images to fit within equal-sized frames.
- Suitable for creating a clean and organized gallery layout.
Previews


